

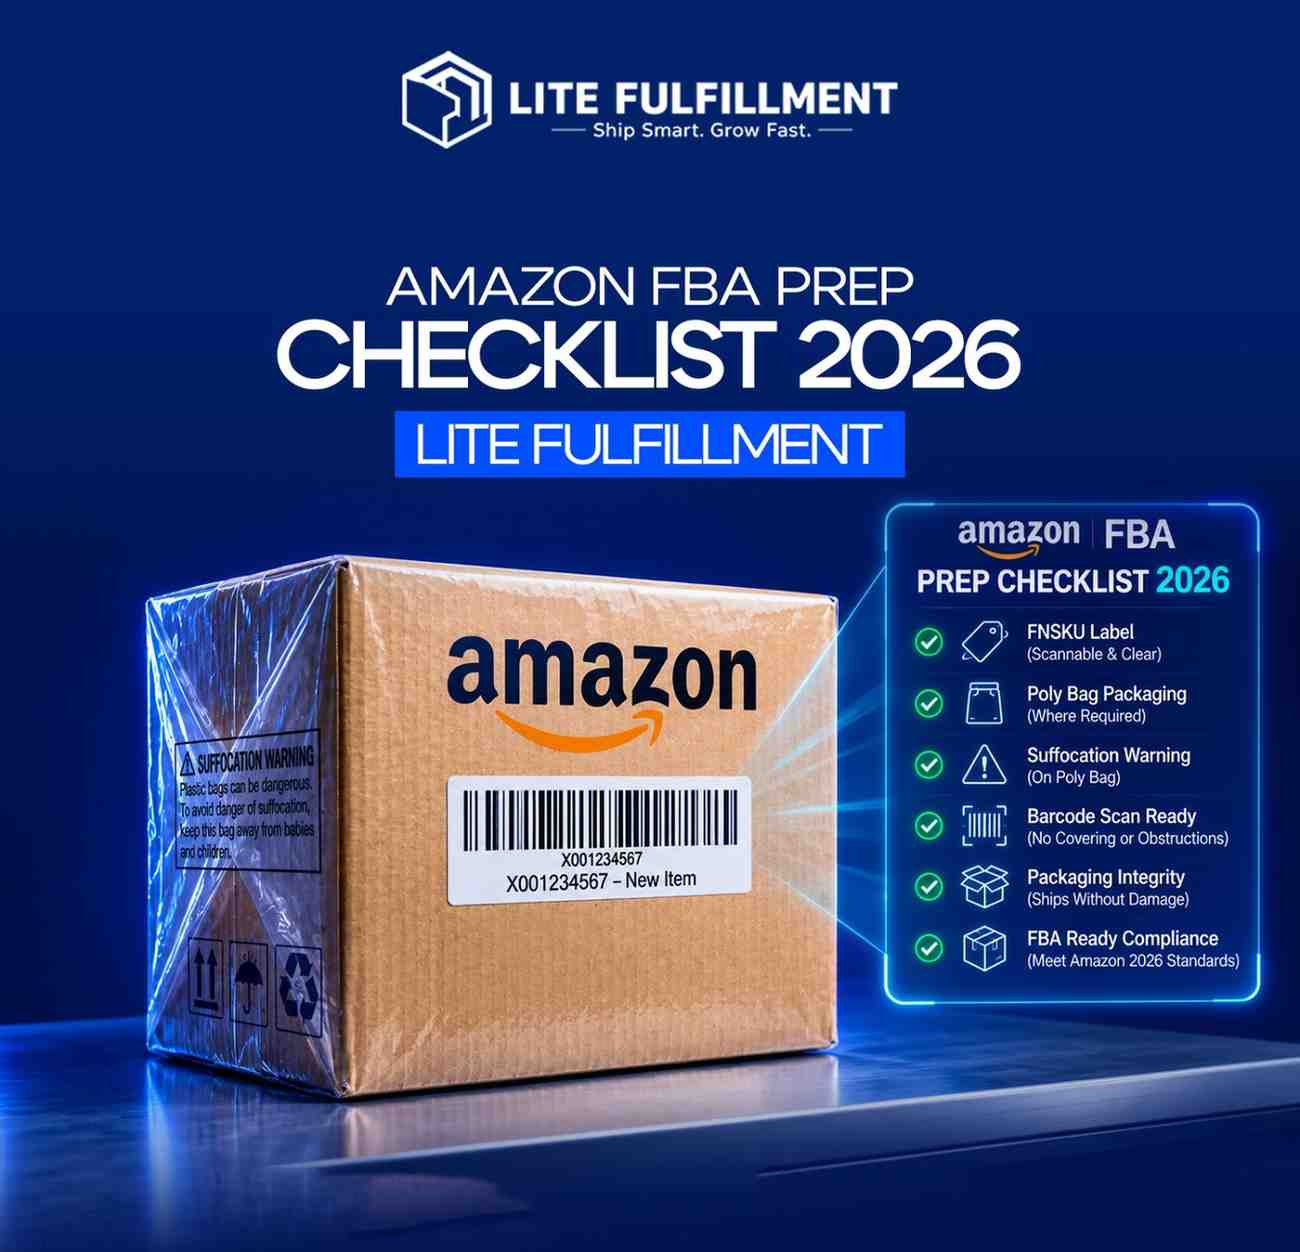
The boxes are taped, and the pickup is booked for tomorrow. Then someone asks if the poly bags have suffocation warnings on them, and nobody is sure.
This is the Amazon FBA prep checklist our team runs before any shipment leaves the warehouse. Unit, label, carton, in that order, with the 2026 rule changes built in. Print it and work down it.
What Changed for Amazon FBA Prep in 2026
Two changes reset how prep works this year, and both of them push more responsibility onto the seller.
The first: Amazon ended its own FBA prep and labeling services on January 1, 2026. There is no longer a fee you can pay to have Amazon poly bag your units or stick your labels on for you at the fulfillment center. Whatever prep your product needs has to be complete before the carton leaves your door.
The second: commingled inventory, sometimes called stickerless inventory, ended on March 31, 2026. Under the old system, a unit could be pooled with identical units from other sellers using the manufacturer barcode. That option is gone. Every unit going into FBA now carries its own FNSKU label, which means labeling volume went up for a lot of sellers overnight.
The practical result is simple. Prep is no longer a step you can outsource to Amazon after the fact. It is a step you complete, or a step you buy from a prep center. Everything below assumes you are the one responsible for it.
The Amazon FBA Prep Checklist 2026 (Full Sequence)
Here is the full sequence in the order it should happen. Skipping around is how items get missed.
Receive and count.
Match what physically arrived against the supplier packing list. Note shortages now, not after you have labeled everything.
Inspect.
Check for damage, scuffed retail packaging, loose caps, torn cartons, and any unit that would arrive looking used.
Confirm the prep type.
Poly bag, bubble wrap, opaque bag, taped, boxed, or set. This depends on the product, not on preference.
Remove or cover old barcodes.
Any leftover FNSKU, UPC, or supplier barcode that a scanner can read will cause a mismatch.
Apply the FNSKU label.
One per unit, flat, scannable, on a clean surface, never wrapped around a curve or a seam.
Add required warnings and dates.
Suffocation warning on qualifying bags, expiry date where the product needs one.
Prep the unit.
Bag, wrap, or box according to the requirement you confirmed in step three.
Pack the carton.
Sturdy box, dunnage that fills the voids, nothing rattling, box strong enough to hold up under stacking.
Weigh and measure the carton.
Record the real weight and real dimensions, not the estimate.
Generate box content information and shipping labels.
Every carton gets both.
Apply labels and seal.
Labels flat, uncovered by tape, and not placed over a seam.
Book the carrier and hand off.
Keep the tracking and the box weights on file until the shipment is checked in.
Unit Level Prep: Requirements by Product Type
This is where the Amazon FBA prep checklist stops being generic. The prep a unit needs depends on what it is. Here is the reference our floor team uses, and it is worth confirming against the current requirements listed in Amazon Seller Central for your category.
| Product Type | Prep Requirement | Where Sellers Slip |
|---|---|---|
| Loose or soft goods (apparel, textiles) | Poly bag, transparent, sealed, minimum 1.5 mil thickness, FNSKU scannable through the bag | Bag is too thin, or the label is inside the bag and will not scan |
| Bags with a 5 inch opening or larger | Suffocation warning printed on the bag or applied as a label | Warning is missing because the bag came pre made from the supplier |
| Fragile items (glass, ceramics) | Bubble wrap, sealed, able to survive a drop test | Wrapped but not sealed, so the wrap slides off in transit |
| Liquids and anything that can leak | Sealed in a leak proof bag, cap secured, secondary containment where needed | Cap is only finger tight and pressure changes open it |
| Sharp or protruding items | Fully covered so nothing can cut through the outer packaging | Point is covered but the edge is not |
| Sets and multipacks | Marked as a set so it cannot be sold as individual units | Set marking missing, so the units get split at receiving |
| Adult, offensive or graphic packaging | Opaque bag | Clear bag used and the shipment gets flagged |
| Products with an expiry date | Expiry printed legibly on the unit and the outer carton, adequate remaining shelf life | Product arrives with less than 90 days of shelf life left |
🔑 Verify before you print: Amazon updates packaging and prep requirements through Seller Central, and category-specific rules change. Treat this checklist as the operational workflow, and confirm current unit requirements in Amazon Seller Central before a large run.
One rule that saves more shipments than any other: if you can see any barcode on the unit that is not the FNSKU, cover it. Amazon scanners do not guess.
Labeling Checklist: FNSKU, Expiry Dates and Warnings
Since commingled inventory ended, labeling is the single highest volume task in prep, and it is where speed creates errors. Run this list before every batch.
- One FNSKU label per unit. Not per pack, not per set, unless the set is itself the sellable unit.
- The label is scannable. Print at the correct size, avoid low toner, and never stretch a label to fit.
- The label sits flat. No curves, no seams, no corners, no shrink wrap ridges.
- The label is not covered by tape, wrap, or another label.
- All other barcodes are removed or covered completely.
- Expiry dates are printed on the unit and on the master carton in a clear, legible format.
- Expiry dated products have enough remaining shelf life at receiving. The standard threshold is at least 90 days.
- Suffocation warnings appear on every qualifying bag, on the bag itself or as an applied label.
If you want the deeper detail behind these rules, our guide to FBA packaging requirements breaks each one down at the packaging level, and the FNSKU vs ASIN guide explains which barcode belongs where.
Carton Level Checklist: Boxes, Weight and Box Content Information
Unit prep can be perfect and the shipment still gets flagged at the carton level. Work down this section last, right before the carrier arrives.
- The box is rigid, undamaged, and free of old shipping labels or markings.
- Standard size cartons stay at or under 50 lb. If a single oversize item pushes past that, the carton needs the correct heavy item marking.
- Void fill is used so nothing shifts. Air pillows, paper, or foam. Loose fill peanuts are not accepted.
- Units inside are not touching the outer wall of the box on any side.
- The carton is sealed on every seam with strong tape, not a single strip down the middle.
- Box content information is generated for the carton, either by 2D barcode or through manual entry in the shipment workflow.
- The shipping label and the box content label are both applied, flat, and not across a seam or an opening edge.
- Real weights and real dimensions are recorded. Estimated numbers create billing disputes later.
Box content information is the one people rush. If a carton arrives without it, Amazon has to process the contents manually, and that is a slow, chargeable, avoidable outcome.
Shipment Creation Checklist Inside Seller Central
The physical work is done. Now the digital record has to match the pallet in front of you.
- Build the shipment plan with exact quantities. Not the quantity you intended to send, the quantity you actually prepped.
- Confirm the prep and labeling ownership settings for the shipment. These now default to the seller.
- Enter box content information for each carton before you print anything.
- Confirm the destination fulfillment centers and note that split shipments are normal, not an error.
- Print shipping labels and apply one per carton. Never reuse a label across two boxes.
- Book the carrier pickup and save the tracking against the shipment.
- Keep a photo of the sealed, labeled cartons. If a discrepancy claim comes up later, that photo is your evidence.
The Five Things That Actually Get Shipments Rejected
After enough inbound runs you notice that rejections are boring and repetitive. It is nearly always one of these.
| # | Cause | The Fix That Takes Two Minutes |
|---|---|---|
| 1 | Unscannable FNSKU label | Scan test one unit per print batch. A single bad print run can ruin an entire shipment. |
| 2 | Old barcode still visible | Cover it fully with a blank label, not a marker line. Scanners read through marker ink more often than people expect. |
| 3 | Missing suffocation warning | Buy bags with the warning pre-printed. This removes the failure mode completely. |
| 4 | Short expiry window | Check remaining shelf life at receiving, not at purchase. Slow moving stock quietly ages in your storage. |
| 5 | Missing or wrong box content information | Never print a shipping label before the box content step is complete. Make it a hard rule. |
None of these are complicated. They happen because prep gets compressed into the last hours before a pickup, and quality control is the first thing to get cut when the clock runs out.
Prep In House or Use a Prep Center: An Honest Comparison
An Amazon FBA prep checklist is only useful if someone has the time to run it properly. That is the real question, and the answer changes as volume grows.
| Factor | Prep In House | Professional FBA Prep Center |
|---|---|---|
| Best for | Low volume, simple products, tight budget | Growing volume, mixed prep types, imported inventory |
| Labor | You or your team, hour for hour | Handled by trained staff on a dedicated line |
| Consistency | Depends on who is packing that day | Standardized process with quality control before dispatch |
| Speed at peak | Falls apart when volume spikes | Scales with the shipment size |
| Supplies | You buy bags, labels, tape, dunnage | Included or billed per unit |
| Imported inventory | Container has to land somewhere you control | Goods land at the warehouse and go straight into prep |
| Rejection risk | Rises when you are rushed | Lower when prep is the daily job, not a side task |
The honest answer: below a few hundred units a month, in house prep is usually fine, and this checklist is all you need. Past that, prep starts eating the hours you should be spending on sourcing and listings. That is when a professional FBA prep center stops being an expense and starts being a trade.
FBA Prep Checklist for International Sellers
If your inventory is being manufactured overseas and sent into the United States, prep has to be planned before the goods leave the factory, not after they land.
- Decide who applies the FNSKU labels. Factory application is cheaper, but a factory error is expensive to fix once the goods are stateside.
- Confirm the poly bags your supplier uses meet the thickness and warning requirements. Many overseas bags do not.
- Ship to a US receiving address that can also perform prep, so the inventory is only handled once.
- Line up your import paperwork early. Classification and entry requirements are set by U.S. Customs and Border Protection, and getting them right up front prevents delays at the port.
- Build in a buffer. Ocean freight is unpredictable, and a shipment that arrives late still needs its full prep window before it goes to Amazon.
Our warehouse sits in Wilmington, Delaware, a state with 0% sales tax and about 18 miles from Amazon's East Coast fulfillment center, which is why we route a lot of imported FBA inventory through it. Goods land, get prepped, and move into the FBA network without a second freight leg.
Conclusion
Prep failures are rarely dramatic. They are a label that would not scan, a bag without a warning, a carton nobody weighed properly. Every item on this Amazon FBA prep checklist exists because someone lost time or money skipping it. Run the sequence in order, verify current requirements in Seller Central before a large run, and the shipment will check in without drama.
If prep is starting to eat the hours you should be spending on the business, that is worth a conversation.